How to Make Damper Camping: Experience the Joy of Freshly Baked Bread in the Wild
As a father of three kids and an experienced camper, one of my favorite camping activities is making damper. There’s nothing quite like the smell and taste of freshly baked bread, especially when enjoyed in the great outdoors. In this blog post, I will share with you my tried and tested method for making damper while camping. So pack your camping gear, gather your ingredients, and let’s embark on a delicious adventure!
[recommendations keyword=’how-to-make-damper-camping’]

The Beauty of Damper
Damper is a traditional Australian bread made from simple ingredients like flour, water, and salt. It was traditionally cooked in the coals of a campfire, making it a staple of Australian bush cooking. While today there are many variations and ways to make damper, the basic recipe remains the same. The simplicity of making damper combined with the joy of eating warm bread in the wilderness is what makes it so special.
What You’ll Need
Before we jump into the recipe, let’s gather all the necessary ingredients and equipment:
Ingredients:
- 3 cups self-rising flour
- 1 teaspoon salt
- 1 ½ cups water
Equipment:
- Campfire or barbecue
- Cast-iron camp oven or heavy-duty aluminum foil
- Mixing bowl and spoon
- Sharp knife
- Cooling rack or clean cloth

The Method
Now that we have everything ready, let’s dive into the step-by-step process of making damper:
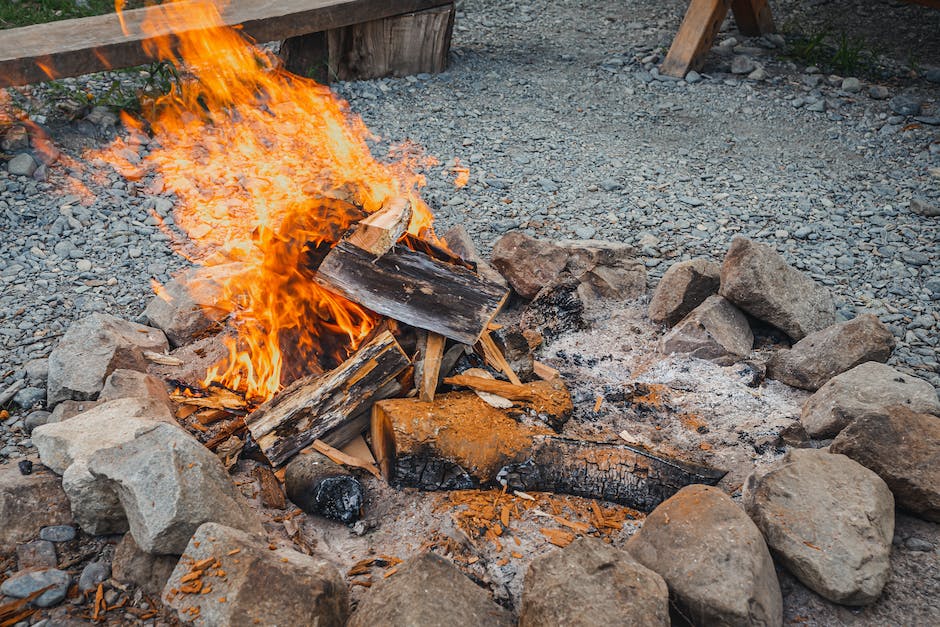
- Prepare your campfire or barbecue by creating a bed of hot coals. Alternatively, you can use charcoal briquettes.
- In a mixing bowl, combine the self-rising flour and salt. Mix well to ensure the salt is evenly distributed.
- Make a well in the center of the flour mixture and gradually add the water.
- Use your hands or a spoon to mix the dough until it comes together. Avoid overmixing, as this can result in a tough damper.
- Transfer the dough onto a lightly floured surface and lightly knead it for about a minute. This helps activate the gluten in the flour and gives the damper a better texture.
- Shape the dough into a round loaf or individual rolls, depending on your preference. Use a sharp knife to make a cross or cuts on the top of the damper. This helps it cook evenly and creates a rustic look.
- If using a cast-iron camp oven, line it with baking paper and place the damper inside. Alternatively, if using aluminum foil, shape it into a makeshift camp oven and place the damper inside.
- Place the camp oven or foil-wrapped damper onto the hot coals of your campfire or barbecue. Cover the camp oven with a lid or tightly wrap the foil to create a sealed environment.
- Cook the damper for around 30-40 minutes, or until it sounds hollow when tapped on the bottom. The cooking time will vary depending on the heat of your fire, so keep a close eye on it.
- Once cooked, carefully remove the damper from the camp oven or foil. Place it on a cooling rack or wrap it in a clean cloth to keep it warm.
- Allow the damper to cool slightly before slicing and serving. Enjoy it plain, spread with butter and jam, or use it as a base for sandwiches.
And there you have it – a delicious damper ready to be savored! The combination of the smoky campfire flavors and the soft, fluffy texture of the bread is truly a camping delight.

Tips and Variations
Here are some tips and variations to help you make the perfect damper:
- Experiment with different add-ins to enhance the flavor of your damper. Some popular options include grated cheese, herbs, spices, dried fruit, or even chocolate chips for a sweet treat.
- If you don’t have self-rising flour, you can make your own by combining 1 cup of all-purpose flour with 1 ½ teaspoons of baking powder and ¼ teaspoon of salt.
- Add some creativity to your damper cooking by wrapping the dough around a stick and cooking it over an open flame. This is especially fun for kids and adds an element of adventure to the camping experience.
- Don’t be afraid to get creative with your toppings and spreads. Nutella, honey, Vegemite, or even a hearty chili con carne can take your damper to the next level.
- Remember that cooking times will vary depending on the heat of your fire. It’s always better to start with less time and check the damper for doneness rather than risking overcooking it.
So, next time you head out into the great outdoors, why not try making damper? It’s a fantastic camping activity that brings people together and adds a touch of deliciousness to your camping adventures. Watch the video below for a visual guide to making damper:
I hope you found this guide helpful and that it inspires you to try making damper on your next camping trip. The joy of baking bread in the wild is truly unparalleled. Happy camping and happy baking!