How to Use a Camping Coffee Maker: A Comprehensive Guide
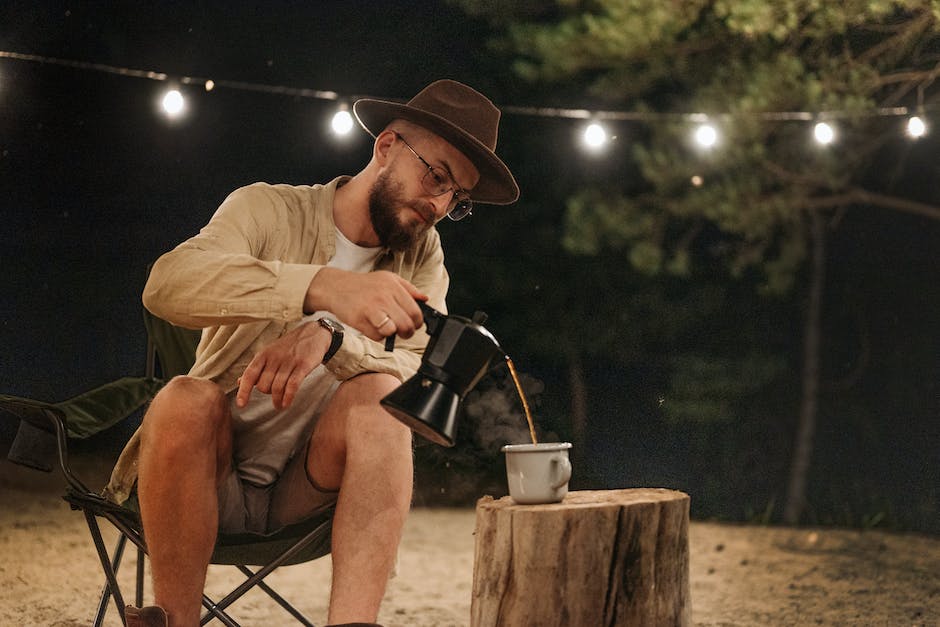
Welcome to our ultimate guide on how to use a camping coffee maker! Whether you’re a seasoned camper or new to the great outdoors, there’s nothing quite like waking up in nature and starting your day with a hot cup of coffee. In this blog post, we’ll take you step-by-step through the process of using a camping coffee maker, sharing tips and tricks from our personal experiences to ensure you have the best coffee brewing experience on your next camping trip.
[recommendations keyword=’how-to-use-camping-coffee-maker’]
Benefits of Using a Camping Coffee Maker
Before we dive into the specifics of how to use a camping coffee maker, let’s briefly discuss why investing in one is a game-changer for outdoor enthusiasts. Here are some key benefits:
- Convenience: Instead of relying on instant coffee or going without your morning caffeine fix, a camping coffee maker allows you to enjoy freshly brewed coffee even when you’re far away from civilization.
- Taste: Let’s face it, nothing beats the taste of a freshly brewed cup of coffee. Camping coffee makers are designed to extract the full flavor of your coffee beans, providing a rich and satisfying cup of joe.
- Versatility: Most camping coffee makers are lightweight and portable, making them suitable for various outdoor activities such as camping, hiking, backpacking, and RVing.
- Cost-effective: While purchasing specialty coffee at cafes during your camping trips can quickly add up, owning a camping coffee maker allows you to save money in the long run by brewing your own coffee.
Types of Camping Coffee Makers
There are several types of camping coffee makers available on the market, each with its own unique features and brewing methods. Here are the most common types:
- Percolator Coffee Maker: Percolators work by continuously cycling boiling water through the coffee grounds to extract the flavor. They are known for producing strong, robust coffee.
- French Press: French presses use a manual plunger to press the coffee grounds to the bottom of the container, separating them from the brewed coffee. They produce a full-bodied flavor.
- Pour-Over Coffee Maker: Pour-over coffee makers involve pouring hot water over coffee grounds placed in a filter. This process allows for precise control over the brewing time and extraction.
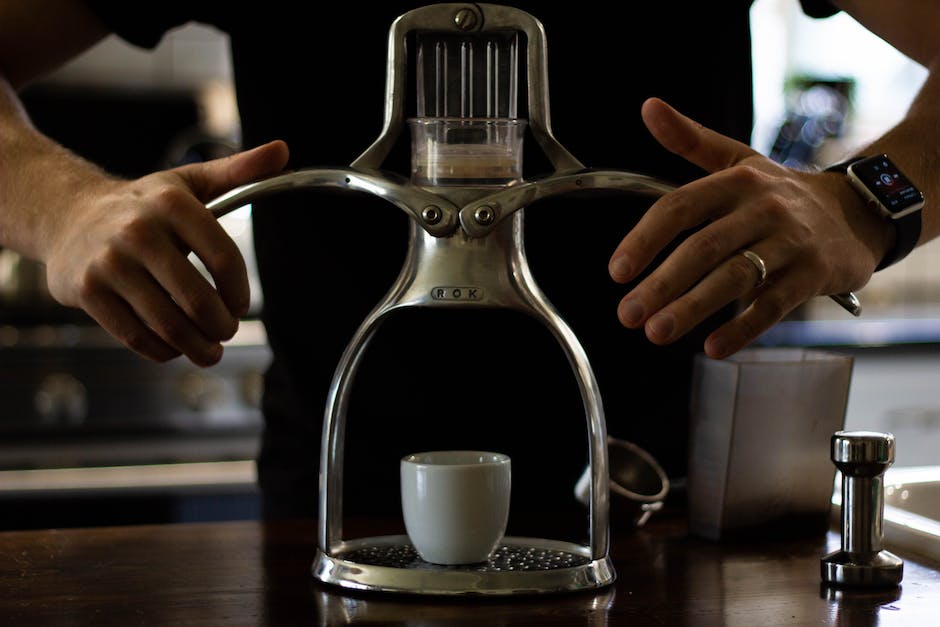
- Portable Espresso Machines: If you’re a fan of espresso-based drinks, portable espresso machines are designed to deliver a shot of espresso wherever you go.
Now that you have an overview of the different types of camping coffee makers, let’s delve into the step-by-step process of using a percolator coffee maker, one of the most popular choices among campers.
Using a Percolator Coffee Maker
As an experienced camper and coffee enthusiast, I have found percolator coffee makers to be reliable and straightforward to use in outdoor settings. Follow these steps to enjoy a piping hot cup of coffee on your next camping trip:
- Gather the Equipment:
Before you begin, make sure you have the following items:
- A percolator coffee maker
- Coffee beans or grounds
- Water
- A heat source (campfire, propane stove, etc.)
- A mug or travel cup
- A spoon or stirring device
- Add Water:
Start by adding the desired amount of water to the percolator’s water chamber. Most percolators have clear markings indicating the water level. If not, a good rule of thumb is to use one cup of water per serving of coffee.
- Add Coffee Grounds:
Next, add coffee grounds to the percolator basket or chamber. The general guideline is to use approximately one tablespoon of coffee grounds per cup of water, but you can adjust according to your preferred strength.
- Assemble and Place on Heat Source:
After adding the coffee grounds, securely assemble the percolator by attaching the basket and lid. Place the percolator on your chosen heat source, whether it’s a campfire or portable stove, and ensure it’s stable.
- Monitor the Percolation Process:
As the water heats up, you’ll start to see it percolating through the coffee grounds. Adjust the heat source to maintain a gentle, rolling boil. Too high of a heat can lead to over-extraction and bitter coffee.
- Ensure Proper Brewing Time:
The duration of the brewing process depends on various factors such as the desired strength and the heat source. As a general guideline, allow the coffee to percolate for 7-10 minutes. If you prefer stronger coffee, let it percolate for a bit longer.
- Remove from Heat and Serve:
Once the desired brewing time has elapsed, carefully remove the percolator from the heat source. Allow it to cool for a minute before opening the lid. Your freshly brewed coffee is now ready to be served!
Additional Tips for a Great Camping Coffee Experience
Now that you know how to use a percolator coffee maker, here are some additional tips to enhance your camping coffee experience:
- Grind your coffee beans just before your trip to ensure maximum freshness. Alternatively, opt for pre-ground coffee specifically labeled for camping or espresso grind for better results.
- Clean your camping coffee maker thoroughly after each use to prevent coffee residue from affecting the flavor of future brews.
- Experiment with different coffee-to-water ratios and brewing times to find your perfect cup of camping coffee.
- Consider using a reusable coffee filter to reduce waste and make clean-up easier.
With these tips in mind, you’re well on your way to becoming a camping coffee connoisseur. Don’t forget to pack your favorite coffee beans, a sturdy camping coffee maker, and your sense of adventure on your next outdoor excursion!
For a visual demonstration of using a camping coffee maker, check out this helpful video: